Every homeowner has a budget for decorating, whether it be luxurious… or as in our case, relatively non-existent. So much cost was immediately eaten up when updating our 1800’s home that I had to get creative to achieve the style that I adore. Lucky for me, I’m not short on creativity and I’m practically in a relationship with Mr. Gold Spraypaint.
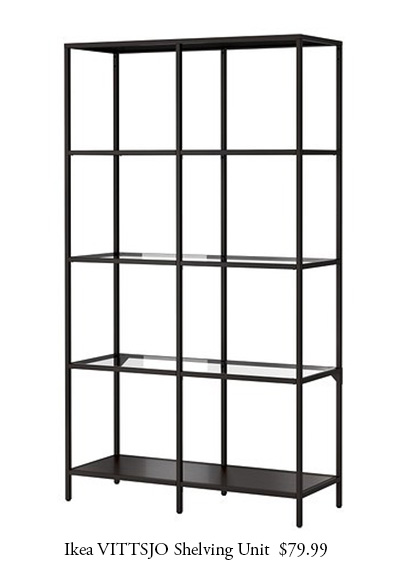
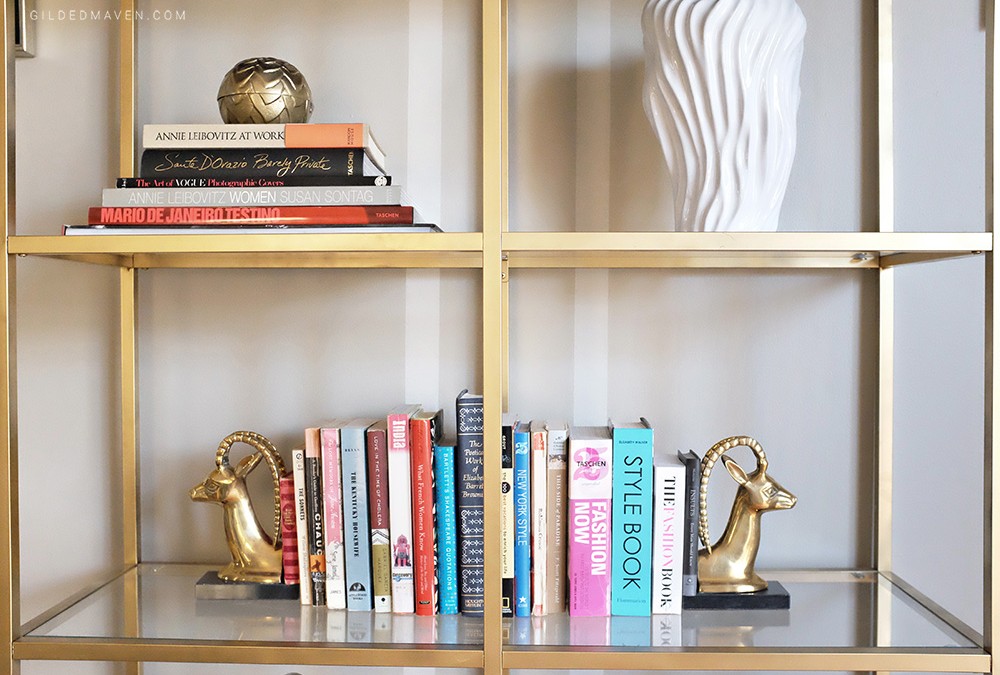
A neutral Hollywood Regency style decor really suited our front living room, and I needed a nice airy shelving unit to display pretty things. Enter: the Ikea Vittsjo shelving unit. With a little magic, I was able to achieve EXACTLY what I wanted… and all for UNDER $100!!
Details at the bottom!
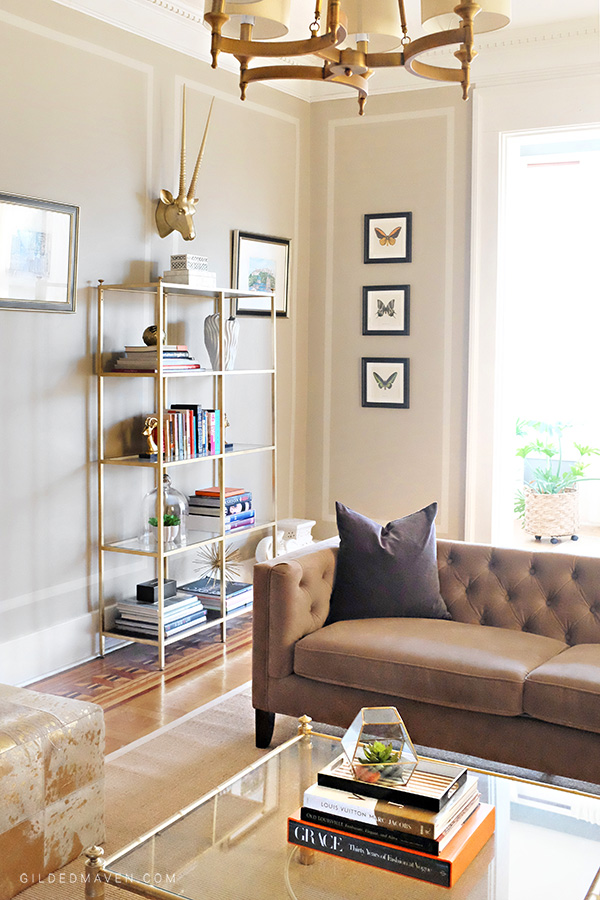
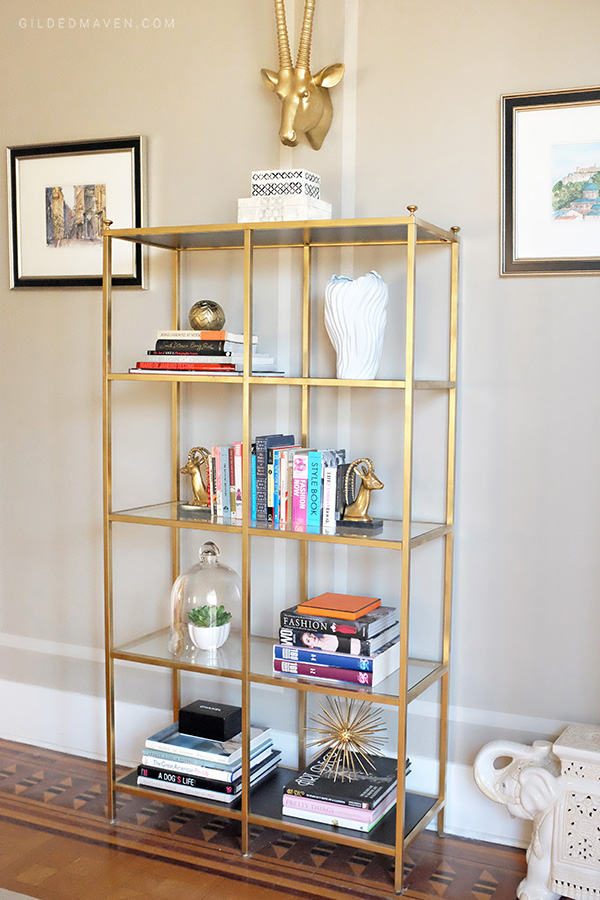
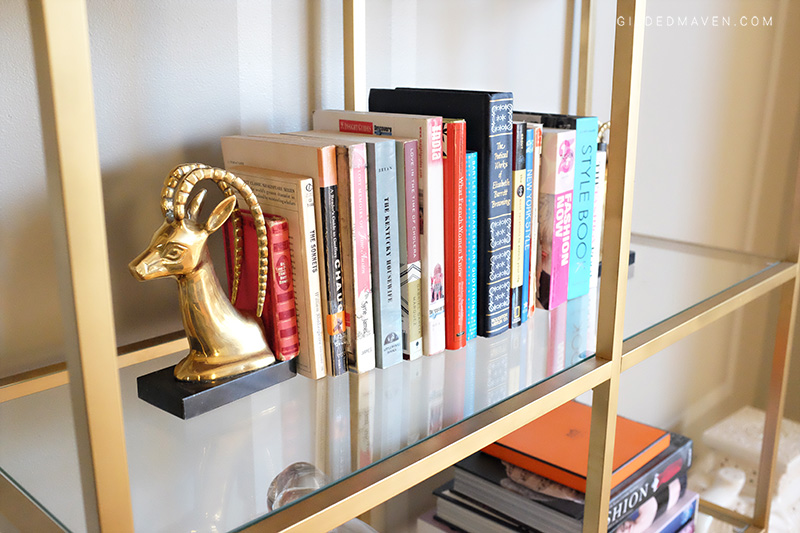
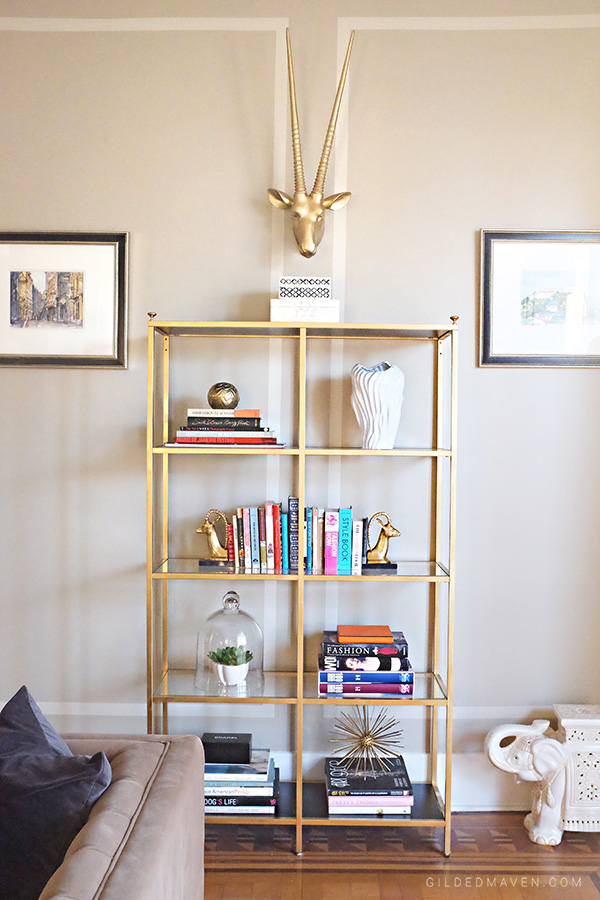
Not too shabby, eh? Here are the basics of what you will need for your project. First, you will need to assemble the shelving unit paying close attention to the delightfully adorable Ikea directions. Under no circumstances should you assume that you are too smart for the provided booklet. You have a 99% chance of being wrong and will redo it at least twice. Just saying.
To give the shelf a more expensive and custom look, I added four golden knobs to the top four corners of the piece. This also made it coordinate with our vintage coffee table – but regardless, the small detail certainly gives it a much classier appeal.
I chose to paint the shelf frame my backyard on a not too breezy day so as not to waste paint. Be sure to let it dry between coats. More details below.
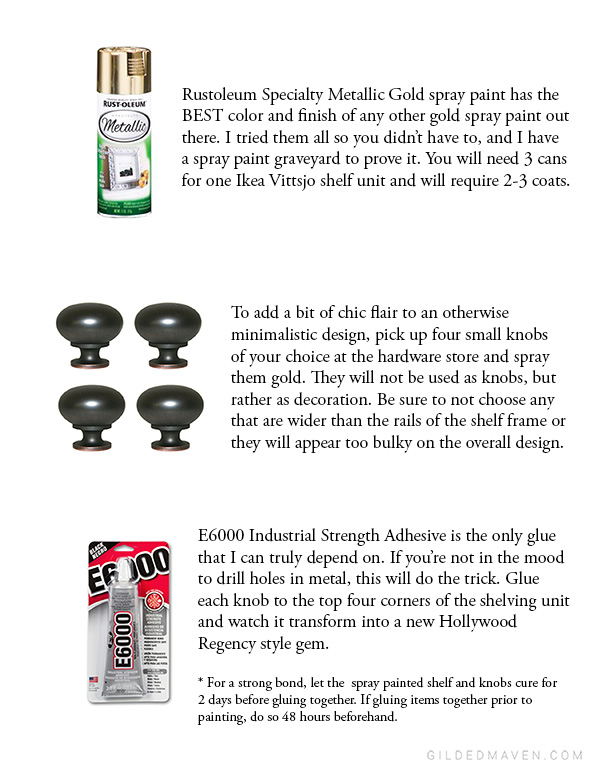

Now comes the FUN part! Spending countless hours arranging and rearranging your oh-so-chic decor. I made the shopping easy for you above, pulling my favorite pieces that make our house feel like home! Pour yourself a glass of wine to congratulate yourself on being so awesome, saving so much money and swear any accomplices to secrecy. I’m share my secrets so you don’t have to.
Xoxo,



 My name is Catherine Kung and I am here to give you your daily dose of eclectic, southern inspired fashion with a side dish of clever ideas and lifestyle tips! This country-raised city girl is so thrilled you stopped by. (I sure do hope you like your tea sweet.)
Since you did this already, what specific size knob should be used, and can you link the exact ones you bought and used thanks!
I love this Ikea hack! Since I was just there Wednesday, my head is spinning with DIY wants! Thank you for your inspiration!
Did you paint it before or after assembly of the shelving unit?
Hi Jillian! I assembled mine first, otherwise the nice paint job can get scratched up during construction.
How did you covered the glass part (There is no spray paint on it)?
The glass is removable! Thanks for asking!
I’ve just discovered you and can’t wait for more of your ideas. Please add me to your mailing list. You are great.
I am in love with your paneled walls! I’ve been dying to try to add umph to my bare walls but moldings are expensive. Hopefully one day you could share the how-to. Is it easy to DIY? Thanks!
Hey Anna! Thank you!! I will try to do a tutorial on that sometime in the near future! Thank you so much for inquiring! 🙂
Did you have any problem with the spray paint rubbing off? Mine is rubbing off! Did you use a primer first?